Creating drive collections
To create a new drive collection, right-click Drive collections and select New.
On the General tab, enter a description and, if necessary, a comment.
On the Drives tab you can view, disable, edit and delete existing entries. New entries can be added as well.
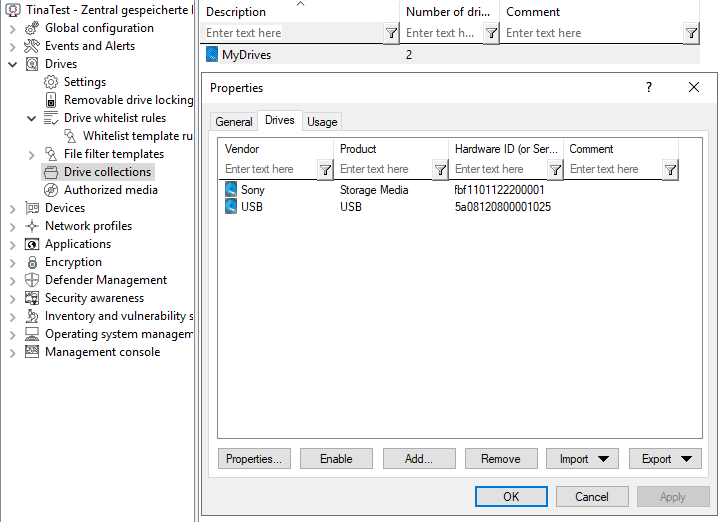
If you want to add new entries, click Add and, if necessary, select whether you want to add a drive based on its product or manufacturer ID or using the hardware ID (only for drives that provide this information - if not, only the hardware ID is queried). In the next dialog, enter the required information or select it in the usual way from the currently connected drives by clicking the ... button. The Import button allows you to import multiple drives, either in the form of a CSV file or an INI file.
If you do not want to delete existing drives completely, but only remove them from the list for a limited time, select the drive you want and then click Disable. An extra icon now indicates that the entry in the list is currently not activated and considered for unlocking. Deactivated collection items can be reactivated.
Click Export to save the current list in the form of a CSV or INI file.
Tip: If you have previously created some entries individually and then exported them as a file, you can use this file as the basis for an import, since it already has the correct structure or the necessary columns.
The Usage tab shows you in which drive collection rules this collection is already used.
You cannot delete the collection as long as a drive collection is used in a rule.