Configuring the UMS server
Please do the following:
- Upload the drivelock.inf and drivelock.tar.bz2 files to the UMS server.
- Open the UMS Console.
- In the UMS Console, navigate to Files -> New File -> Upload local file to UMS server.
-
Set Root as Owner (see figure).
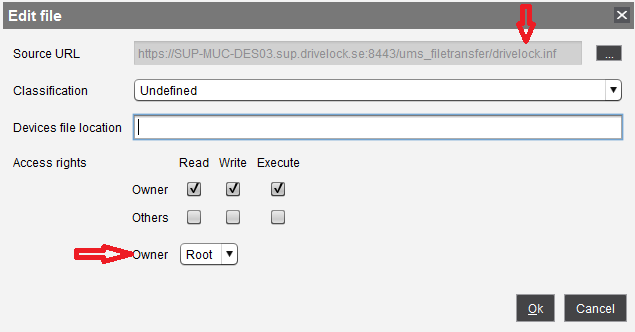
- Repeat the same for the drivelock.tar.bz2 file.
- In the UMS system, create a new profile, e.g. drivelock.
- In the UMS Console, navigate to Profiles -> New Profiles -> Profile Name.
-
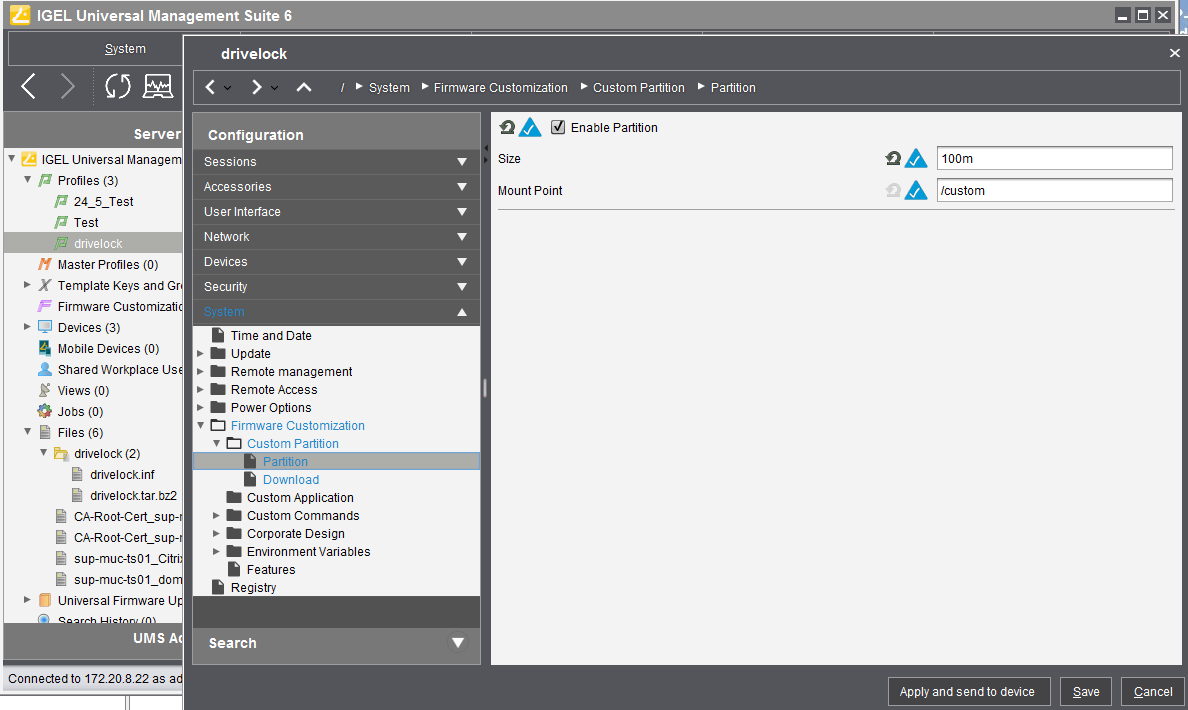
Edit the created profile and activate the Custom Partition as follows (see figure):
- Navigate to System -> Firmware Customization -> Custom Partition -> Partition
- Unlock Enable Partition
- Check Enable Partition
- Set size of the partition to 150 or 200 MB
- Keep /custom as Mount Point.
-
Specify the download source.
-
Navigate to System -> Firmware Customization -> Custom Partition -> Download
-
Click [+] to add a Partition Download Source.
-
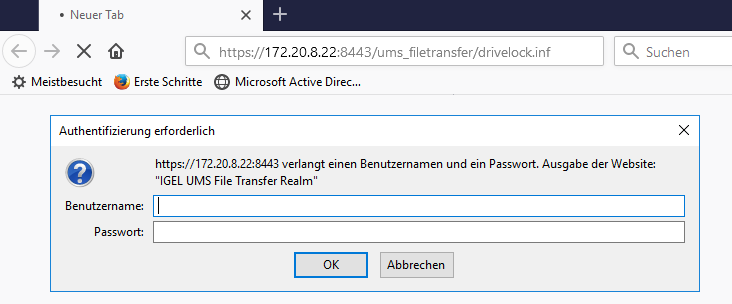
Add the download URL http(s)://<server>:8443/ums_filetransfer/drivelock.inf
-
Enter the user name and password to download the file. To confirm the user has access, test in browser.
-
-
In the next step, enter the following (see figure):
Set Initializing Action to /custom/drivelock/drivelock-ctl start.
Set Finalizing Action to /custom/drivelock/drivelock-ctl stop.
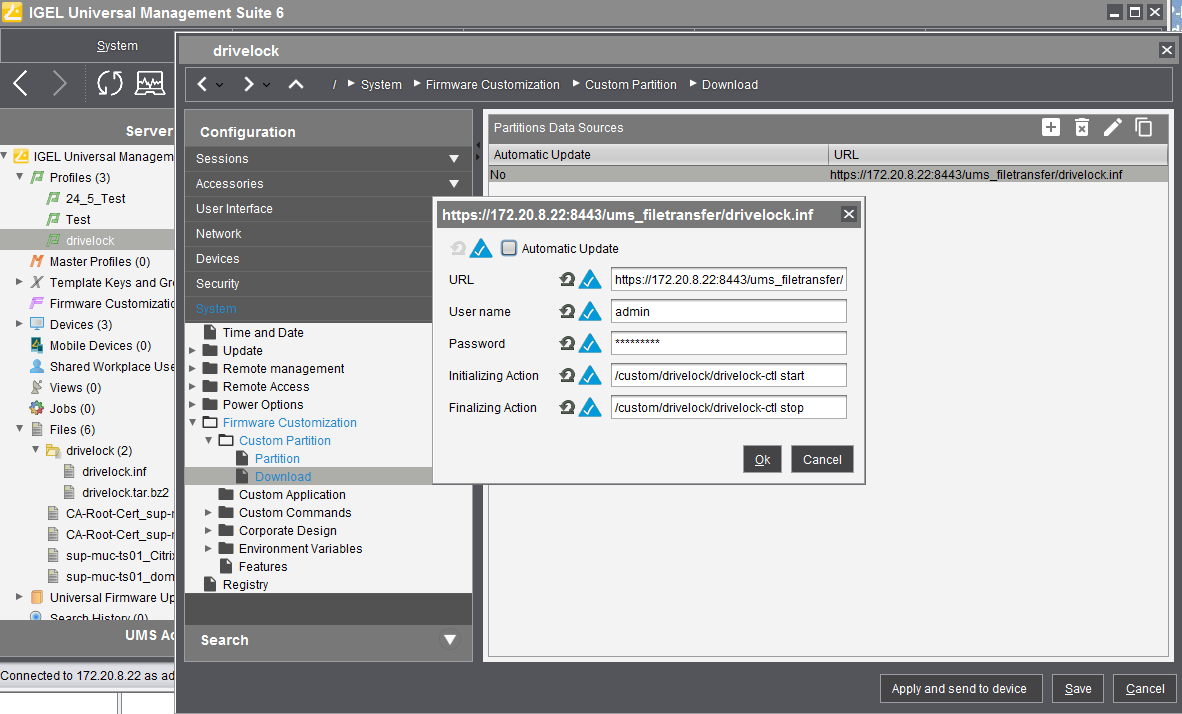
Please note that the Mount Point matches the mount point configured in step 8.
-
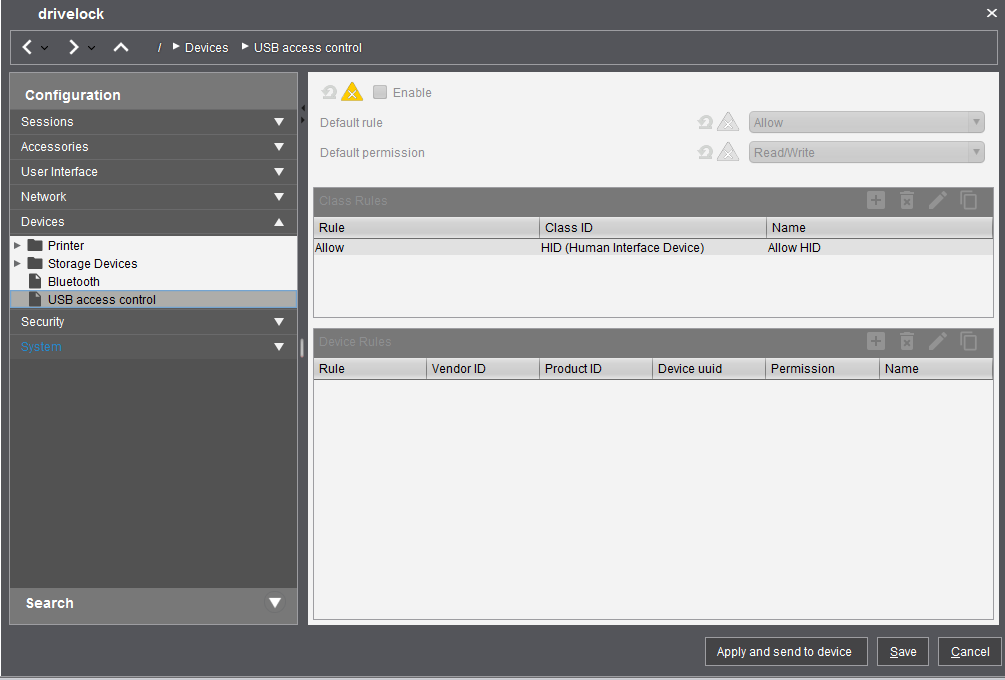
Disable USB access control on Thin Clients.
Navigate to Devices -> USB access control -> uncheck Enable.
-
Assign the DriveLock profile to the Thin Clients.
- Navigate to Devices -> Client. Drag and drop the DriveLock profile icon to the Thin Client.
- As per requirement, select Now or By next reboot to activate the changes.