Use case: Unlock request for a drive in the DOC
The unlock request option is cross-system and also applies to Linux and macOS agents.
Please do the following:
-
First, you need to make sure that the unlock request option is set up on your DriveLock Agents. If not, first configure this in the Global configuration in the Policy Editor. Click here to find out how to do so.
-
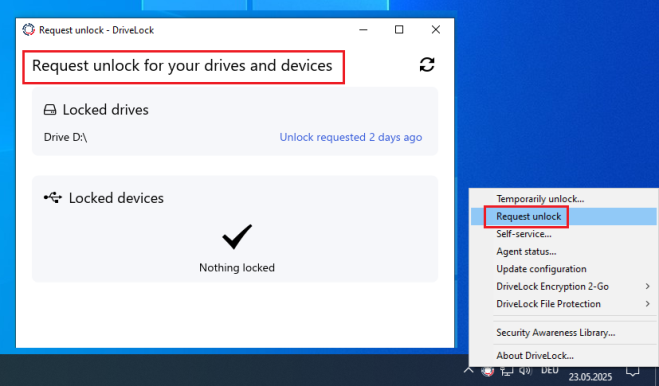
Once configured, users will be able to select the Request unlock option via the DriveLock icon in the taskbar. If you approve the request, the drive will be permanently allowed.
-
A dialog will appear in which the user can select the drive and then click Request unlock. The user has to enter a reason for the request before it can be sent.
-
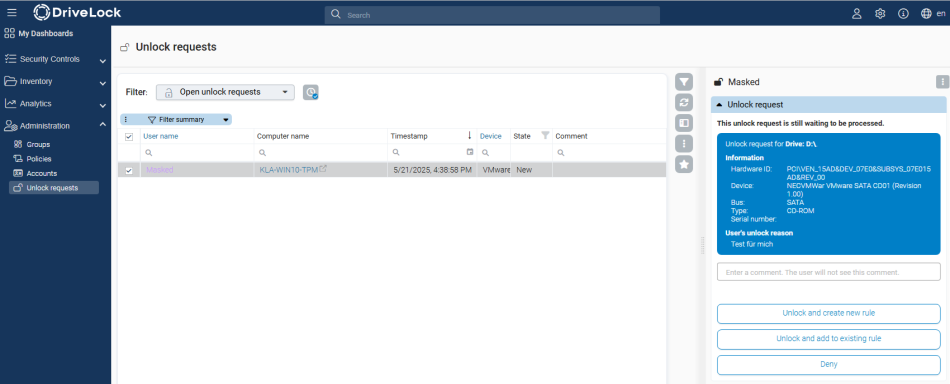
Shortly afterwards, you will see the new request in the DOC under Administration -> Unlock requests.
-
You now have the following options in the detail window:
-
Unlock and create new rule: You can create a new drive rule directly in the course of the approval.
-
Unlock and add to rule: If you have already created a rule, for example one for all unlocked drives, you can simply add the drive.
-
Deny: If you do not agree to unlock the drive, you can send the user a message stating the reason for the denied unlock. The drive remains locked until further notice.
-
-
If not denied, the selected drive can now be used on the DriveLock Agent and is enabled from now on.