Assigning policies (DMC and DOC)
In the DriveLock Operations Center (DOC)
Configuration in DOC: Administration -> Policies -> Policy assignments
On the Policy assignments tab in the Policies menu under Administration, you can create, edit, drag and drop and activate or deactivate policy assignments in the same way as in the DMC.
As in the DMC, you also have the option in the DOC to define a policy for all computers (this option is activated by default) or specific targets (AD computers, DriveLock groups, Microsoft Entra ID groups. AD groups or OU containers).
Note: Assignments can also be created directly from the policy view - via the toolbar or the context menu. The new assignment appears at the end of the list in the Policy assignments tab and is displayed here after switching from the Policies tab.
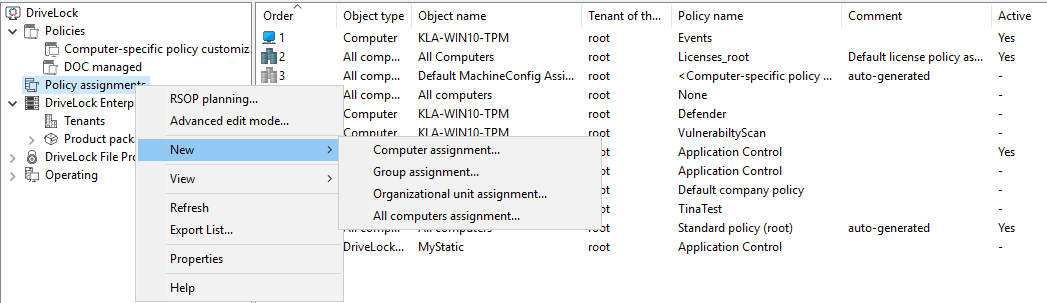
In the DriveLock Management Console (DMC)
Once you have created and configured a centrally stored policy, you will assign it to specific or all computers, groups, DriveLock groups, or organizational units (OUs) where you want it to take effect.
Before using static and dynamic DriveLock groups in policy assignments, you need to have defined them first. When the DriveLock group has been successfully applied to a policy, it appears on the Policy assignments tab of the group properties.
In the assignment dialog, you specify the computers, groups or OUs, select a tenant and the appropriate policy. Policies stored for the root tenant can be used with any tenant, while policies stored for a specific tenant can only be assigned to that tenant.
To change the order, simply right-click an entry and move it.
If you want to move or edit more than one policy at a time, click Advanced edit mode... and move the policy to where you want to place it. Here you can also disable or delete the policies.