Use case: Unlock request for a device in the DOC
The unlock request option is cross-system and also applies to Linux agents.
The following questions are answered in this use case:
-
How can you allow users to request unlock for a locked device?
-
What does a user need to do on the DriveLock Agent?
-
What do you do in the DOC once a user has created an unlock request?
Please do the following:
-
First, you need to make sure that the unlock request option is set up on your DriveLock Agents. If not, please configure it first in the Global configuration in the Policy Editor. Click here for more information.
-
Once configured, users will be able to select the Request unlock option via the DriveLock icon in the taskbar. If you approve the request, the device will be permanently allowed.
-
A dialog will appear in which the user can select the device and then click Request unlock. A reason for the release must be given before it can be sent.
-
Shortly afterwards, you will see the new request in the DOC under Administration -> Unlock requests.
-
You now have the following options in the detail window:

-
Unlock temporarily: The device (or drive) is unlocked for the specific computer. The Unlock wizard starts.
-
Create new rule: You can create a new device rule directly during the release process.
-
Add device(s) to existing rule: If you have already created a rule, for example one for all shared devices, you can simply add the device.
-
Deny: If you do not agree to unlock the drive, you can send the user a message stating the reason for the denied unlock. The device will remain locked until further notice.
-
-
Unless denied, the requested device can now be used on the DriveLock Agent and is allowed for further use.
-
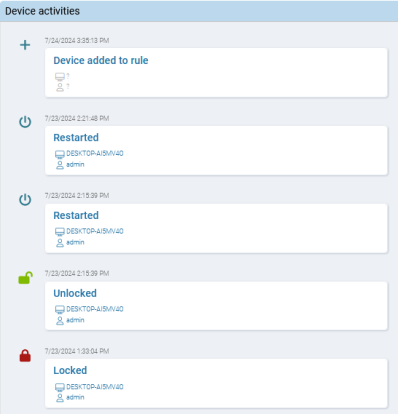
The device is now displayed in your list of devices. Here you can also see all device activities in the detail window, for example when the device was unlocked (allowed) or when it was added to a rule. The related objects (for example the computer the device was connected to) are also displayed.